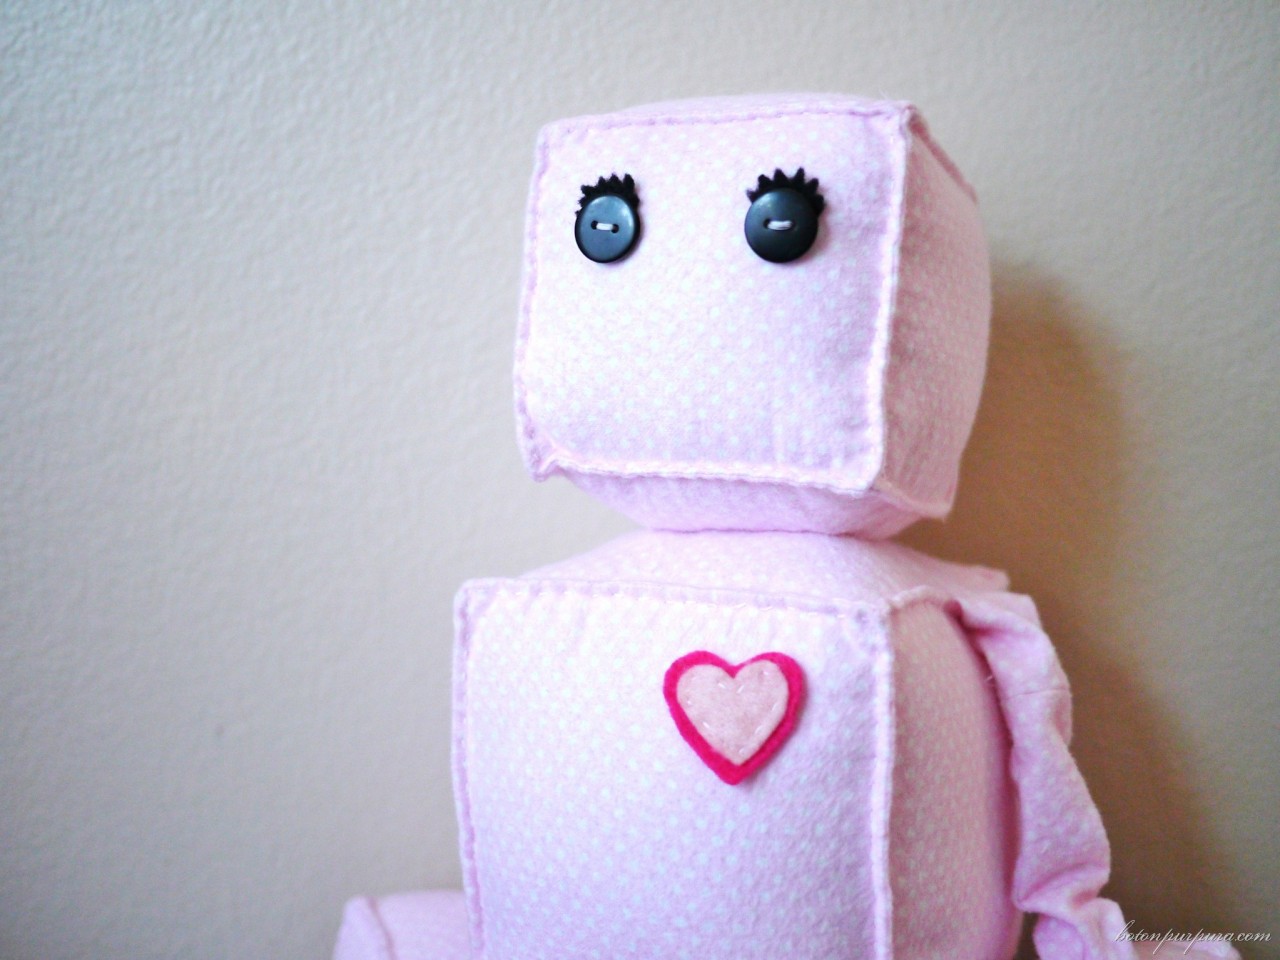
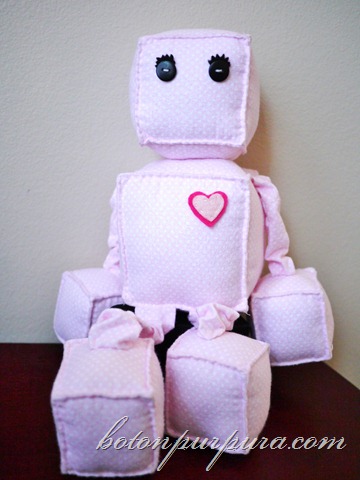
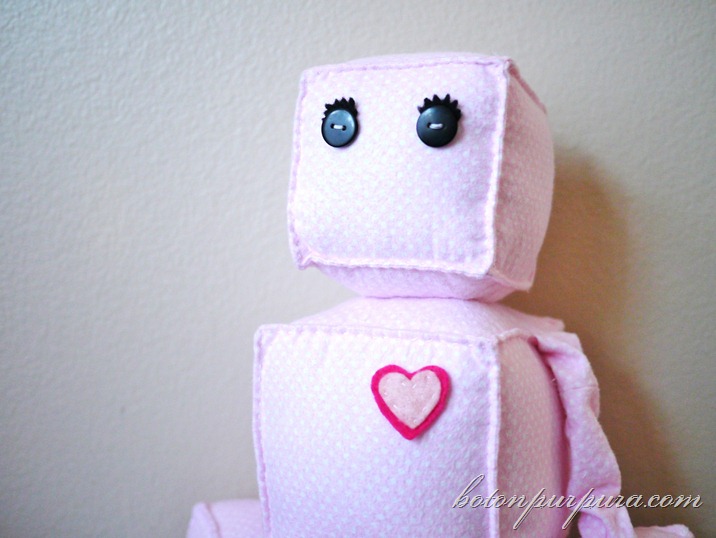
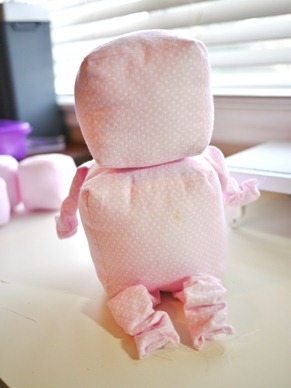
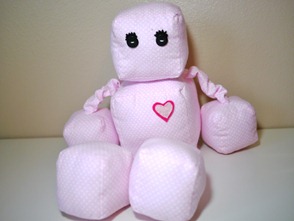
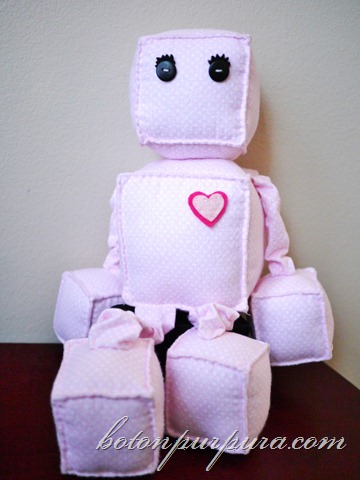
Estoy bien emocionada de mostrarte este proyecto. Es un hermoso robot que vi en Little Inspiration. Fue súper divertido hacerlo y el resultado es precioso. En Little Inspiration ella hace uno mas pequeño que el mío, y la verdad es que voy a ver si encuentro una tela parecida a la que ella usó porque me encanta como le quedó. En el mío use una tela que ya tenia yo por ahí, pero el resultado igual es tierno.
Materiales:
– tela
– elástico
– hilo
– aguja
– botones
– franela en dos tonos rosados y en negro
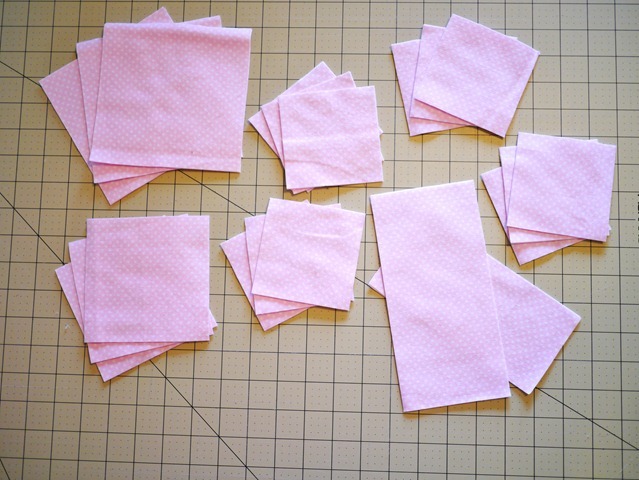
Corta tu tela en:
6 cuadrados 4 1/2inb (cabeza)
6 cuadrados 5 1/2in (cuerpo)
24 cuadrados 3 1/2in (manos y pies)
2 rectángulos 7 1/2 x 3 1/2 in (piernas) 2 elásticos 5 1/2in
2 rectángulos 6 x 3in (brazos) 2 elásticos 4in
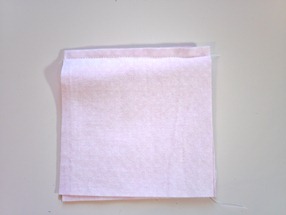
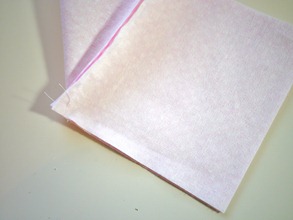
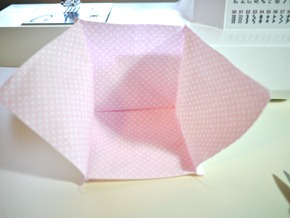
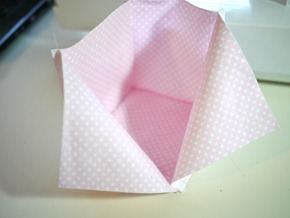
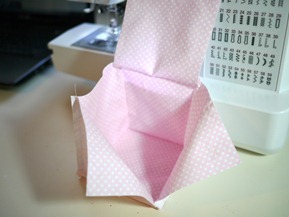
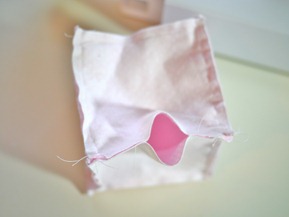
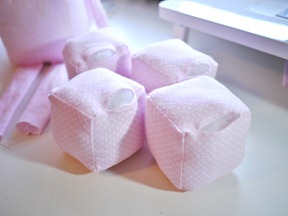
Empieza a armar los cubos de las manos pies y cabeza.
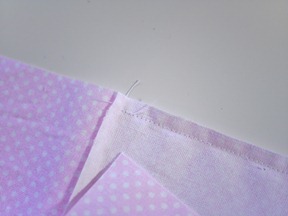
Procura dejar como 1/4in sin coser a cada lado, empiézalo y termínalo reforzándolo. Esto te va a facilitar coser el cubo.
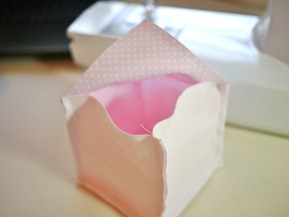
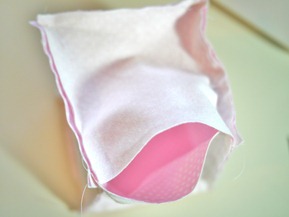
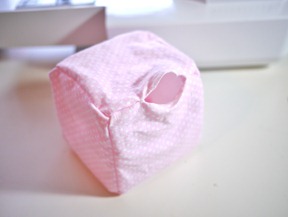
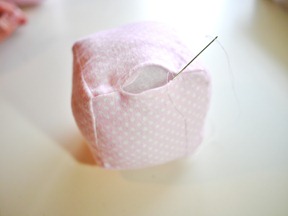
Al coser el ultimo lado, deja un espacio suficiente para poder dar vuelta el cubo y rellenarlo.
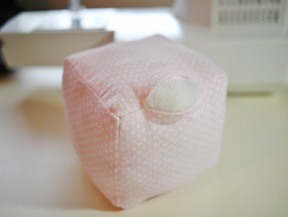
Rellena tus cubos con cuidado, procura abrir bien el relleno para que no queden bolas, quieres un robot suave y abrazable, no uno duro y lleno de bolas al tacto.
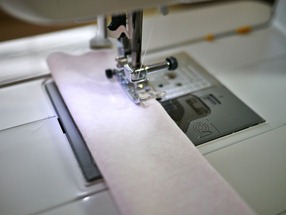
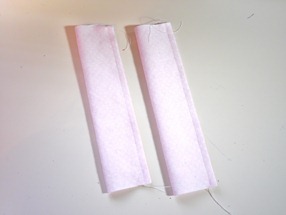
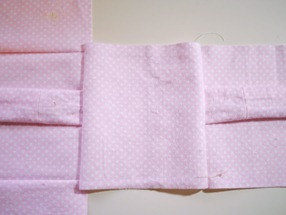
Ahora cose los rectángulos para los brazos y piernas a lo largo.
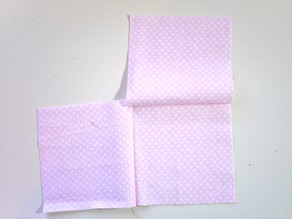
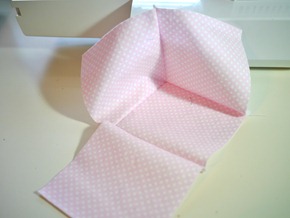
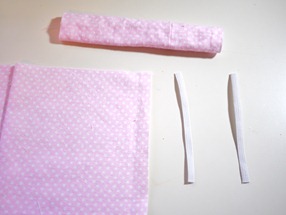
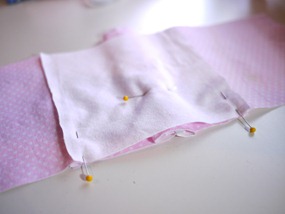
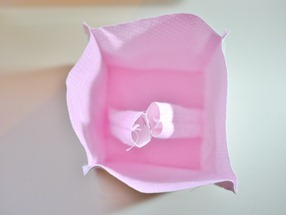
Dalos vuelta y coloca una pieza de elástico dentro del tubo. Toma un cuadro del cuerpo (lado derecho hacia arriba) coloca el brazo con el elástico encima, tomo otro cuadrado y ponlo encima (lado derecho hacia abajo) y cose atreves de todas las capas ( 2 cuadrados el tubo y el elástico).
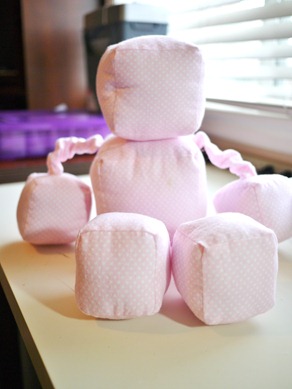
Repite el proceso anterior para el otro brazo.Te va quedar así como en la foto (los brazos tienen un cuadrado en común, el cuadro que será los hombros)
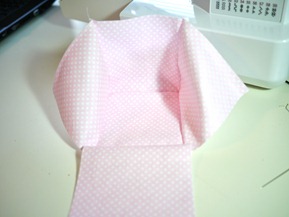
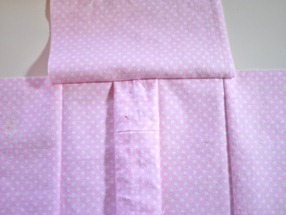
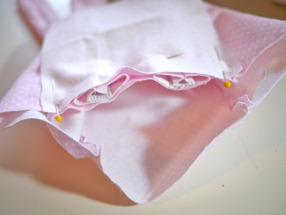
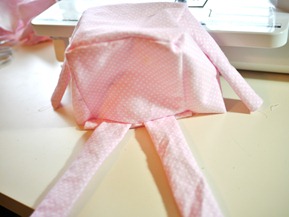
Continua armando el cubo. Cuando llegues al ultimo cuadrado has un sándwich parecido al de los bazos para formar los pies. En uno de los cuadrados del cubo, en el lado derecho de la tela, coloca las dos piernas (ya con los elásticos por dentro) y un cuadrado, lado derecho hacia a bajo, encima. Como se muestra en la foto. Cose los otros lados dejando espacio para poder dar vuelta el cubo y rellenarlo.
Da vuelta el cubo que forma el cuerpo y rellénalo.
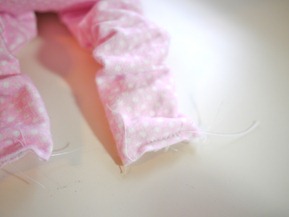
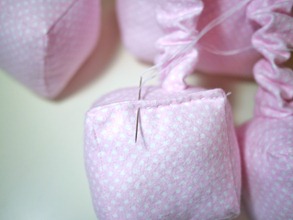
Cierra todos los cubos. En los brazos y piernas recoge la tela para que quede del largo de los elásticos y cóselos para asegurarlos. Ahora tienes brazos y piernas elásticos.
Cose la cabeza al cuerpo. Y después las manos y pies a los brazos y piernas.
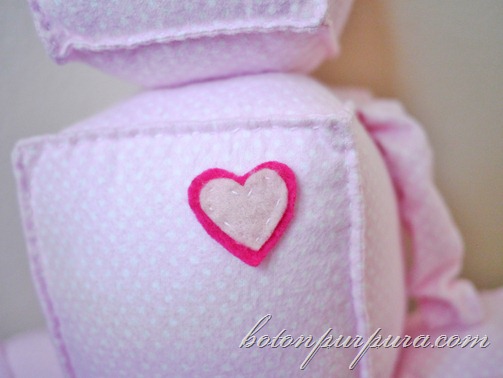
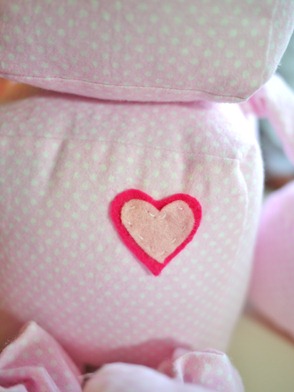
Corta dos corazones de felpa. Uno grande y otro un poco mas pequeño.
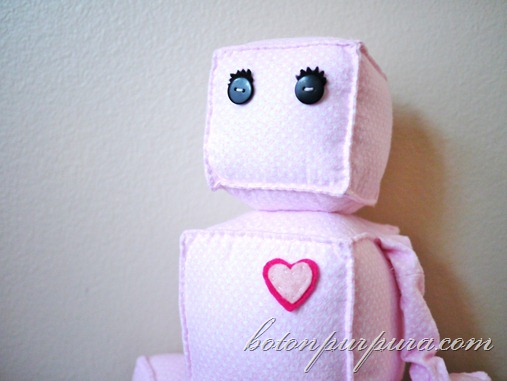
Cose los corazones al cuerpo y los botones a la cabeza. Corta pestañas en felpa negra y cósela detrás de los ojos.
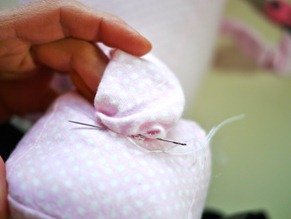
Si lo deseas ya esta terminado, pero si quieres que se vea mas cuadrado, con hilo y aguja cose alrededor de todos los lados de los cubos. Usé el hilo doblado en cuatro para que sea mas grueso y se note mas la costura. Si quieres que sean aun más obvio puedes usar un color contrastante.

